You don’t need to baby your phone in Hawaii, but you do need to respect salt spray. Pack an IP68 case or a clear zip bag with a float strap, add tempered glass, and cap your ports before you hit a windy beach. Keep it 20 to 30 feet back from the splash zone, and wipe sandy hands on a microfiber cloth first. If you’re booking a Viator snorkel with verified reviews, hotel pickup, and free cancellation, plan your photo moments, because one sloppy dip changes everything…
Key Takeaways
- Pack a clear zip-top “saltwater kit” with microfiber cloth, fresh-water sprayer, silica packets, and a slim power bank.
- Use an IP68 ocean-rated waterproof case or clear dry bag, add a float strap, and do a quick hotel-tub sink test first.
- Install a tempered-glass screen protector and seal weak points using port plugs, SIM caps, and waterproof speaker mesh tape.
- Stay 20–30 feet from the splash zone, keep the phone stowed between shots, and use windproof roll-top storage on breezy beaches or boats.
- If splashed, power off immediately, remove case/SIM, blot dry, avoid rice, and get to a repair shop within 1–3 hours.
Pack a Hawaii Saltwater Phone Protection Kit
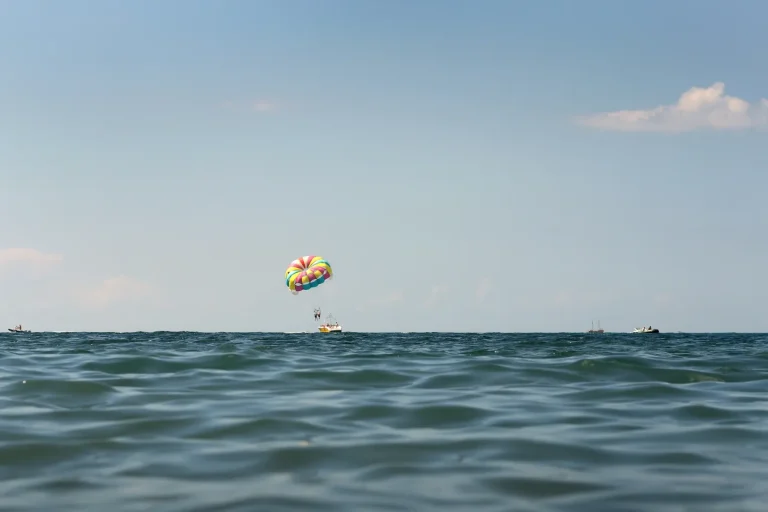
Start by tossing together a small saltwater phone kit before you hit the beach, because one surprise wave on Oahu or a windy boat ride off Maui can turn your camera into a paperweight. Before you head out on the water, especially for activities like parasailing in Waikiki, consider using one of the best waterproof phone cases to keep your device safe from splashes and full submersion.
Use a clear zip-top bag, stash two spares, they’re about $2 at Longs. Pack it the night before, it weighs less than sunscreen.
Add a microfiber cloth, a tiny spray bottle of fresh water for a rinse, plus silica gel packets for the ride back.
Toss in a slim emergency powerpack, salty air drains batteries when you’re filming reef fish.
Clip it to your daypack with a carabiner, skip bulky gadgets in Waikiki crowds.
Finish with island themed accessories like a bright wrist strap, you’ll spot your phone in sand.
Choose an Ocean-Rated Waterproof Case (IP68+)
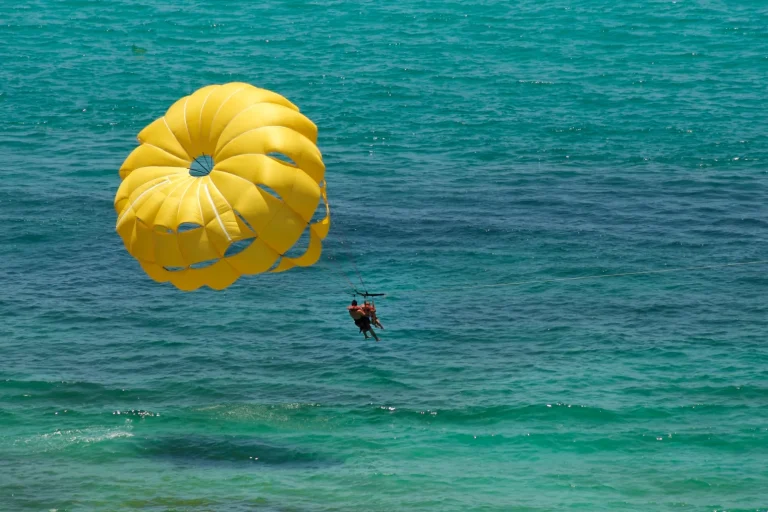
Because saltwater finds every weak seam, pick an ocean-rated waterproof case with an IP68 (or higher) label before you pack your snorkel fins. You’ll want a hard seal, a closing latch you can feel with wet fingers, and a leash point for a float strap. In Waikiki shops, expect $35 to $90, buy before the weekend crowds. Check the brand’s product testing notes and look for standards used in marine electronics, not vague “splashproof” claims. If you’re planning to bring your phone while parasailing over Hawaii, this kind of ocean-rated case plus a secure tether is non‑negotiable.
| Feature | Look for | Skip |
|---|---|---|
| IP rating | IP68 or IP69K | “Water resistant” |
| Depth claim | 2 m for 30 min | No time listed |
| Seal design | O-ring, double lock | Simple zipper |
Do a 30-second sink test in your hotel tub, then rinse the case after every beach day before heading out.
Add a Sand-Proof Screen Protector (Tempered Glass)
Often, the real phone killer in Hawaii isn’t the splash, it’s the sand that grinds into your screen like tiny lava rocks. Add tempered glass before you hit Waikiki or Hanauma Bay, ideally the night before, so you’re not fumbling in a windy parking lot. Pick one with a scratch resistant coating and rounded edges, about $10 to $25 at ABC Stores or a kiosk in Ala Moana. If you’ll be snapping photos during parasailing in Waikiki, that extra tempered glass layer adds a buffer against salt spray and grit while you’re handling your phone on the boat.
Use simple installation tips: wash hands, wipe the display, line it up under bright light, then press from center outward. Bring a microfiber cloth in your beach bag, skip paper napkins that shed grit. After a crowded beach day, rinse your hands first, then swipe. If it cracks, replace it fast, and avoid flimsy plastic film.
Seal Weak Points: Ports, Speakers, Camera Bumps
Before you step onto a salty Waikiki shoreline or hop on a crowded snorkel boat, seal the spots that always fail first. Plug your ports with a cheap silicone cap (about $5 to $10), keep speaker grills turned away from spray, and skip stuffing them with tissue, it just traps grit. For parasailing or boat tours, use tethered phone cases and secure straps so your phone doesn’t slip from your hands while you’re shooting photos over the water.
Check the camera bump too, then cover any tiny gaps with a snug skin or a small strip of clear tape before your tour starts, especially if you’re booking a Viator boat day with verified reviews, hotel pickup, and free cancellation.
Protect Ports With Plugs
Always treat your phone’s openings like tiny doors the ocean wants to kick in, especially on a windy Hawaii beach where salt spray drifts farther than you think.
Before you leave the hotel, pop in magnetic plugs for USB C or Lightning, then add color coded caps for your SIM tray and mic pinhole so you can spot missing pieces fast.
Keep a spare set in a zip bag, about $8 to $15 at an ABC Store or online, because crowds at Hanauma Bay and Waikiki turn small parts into sand offerings.
Rinse your hands, dry them, then unplug only when you charge in a sheltered spot.
Bring a soft cloth and a small case.
Skip loose port covers that dangle and catch grit.
If you plan to mix beach time with activities like parasailing, remember that wind, spray, and sudden splashes can hit your phone just as easily as they threaten glasses and contacts, so keep ports sealed before you ever strap in.
Seal Speakers From Spray
You’ll almost never notice how exposed your speakers are until a gust of salt spray hits the bottom grille and your audio turns thin and crunchy. Just like managing parasailing motion sickness with small, smart adjustments, a few simple steps here can prevent long‑lasting damage from salt spray.
Before you hop on a boat dock or stand near a blowhole, apply a strip of waterproof mesh speaker tape. It’s about $8 for a roll at an ABC Store, and it blocks droplets while letting sound through. Smooth it down, then record a quick voice memo to check clarity. Do it early, before the crowds thicken.
After the beach, rinse your hands, not your phone, and blot the grille with a dry microfiber. Skip canned air, it can push brine deeper.
If audio stays dull, park the phone in a breezy room overnight so acoustic dampening rebounds.
Cover Camera Bump Gaps
Once your speakers are shielded, the next salty weak spot is the camera bump, those tiny seams around each lens where spray can wick in and leave a hazy ring on your next sunset shot. Before you hit Wailea at golden hour, press on a thin camera-bump sticker or a clear skin with a raised rim, about $8 to $15 at ABC Stores. Clean the area first with fresh water and a microfiber cloth, then check lens alignment so your photos stay sharp. Don’t use thick tape that crowds the lenses or traps sand. Just like essential parasailing gear relies on secure, well-sealed connections to keep you safe over the water, your camera bump protection works best when every edge and seam is properly seated. After a snorkel tour, peel it back, rinse, and dry. Do quick gasket maintenance weekly, especially if you swap cases often. Skip pocketing the phone in wet boardshorts all day.
Beach Rules: Keep Your Phone Out of Salt Spray
On windy Hawaii beaches, you’ll get hit with salt spray fast, so keep your phone out only when you’re snapping a shot and tuck it away between sets of waves and crowds. Use a windproof storage option like a roll top dry bag or a snug zip pouch inside your daypack, and skip the open beach tote that lets mist sneak in. Lifeguards are also a great source for up-to-the-minute advice on conditions like rogue waves and strong shorebreaks that can soak unprotected phones and surprise you near the waterline. If you’re booking a boat snorkel or coastal cruise, a Viator tour with verified reviews, hotel pickup, free cancellation, and reserve now pay later can make timing easier so you’re not juggling your phone on a salty deck.
Minimize Exposure To Spray
Most days at Hawaiʻi’s beaches, the salt mist floats farther than you think, especially when the trade winds pick up around late morning. If you’re scrolling at the waterline, you’re basically inviting a salty film. Set up 20 to 30 feet back from the splash zone, or use natural spray shields like a beach chair, cooler, or your friend’s umbrella. For quick photos, step forward, shoot, then retreat. Wear clothing barriers too. A light rash guard pocket, zip hoodie, or even a dry bandana keeps droplets off while you walk. Bring a small microfiber cloth (about $5 at ABC Stores) and wipe your hands before touching the screen. Since swells and wind can change fast, it’s smart to check current beach conditions before you set up with your phone near the water. Skip front row rocks at high tide, they’re a spray factory. Crowds thin earlier, so arrive.
Use Windproof Phone Storage
Zip it up and lock it down before the wind kicks up, because Hawaiʻi’s trade winds can sling salty grit straight into your ports and speaker holes.
Slip your phone into windproof pouches with a snug roll-top, then stash it in a daypack pocket that faces your back.
On breezy beaches like Kailua or Poʻipū, add gustproof clips to tether the pouch to a belt loop so it won’t skitter across sand when you set towels down.
Bring a small microfiber cloth and a fresh-water bottle for quick wipe downs.
Skip open-top totes and loose cargo pockets, they’re basically salt funnels.
If you’re on a boat snorkel tour, keep the pouch sealed until you’re inland, even for “one photo.”
Just like Waikiki parasailing wind can suddenly pick up and change your ride, those same gusts can blast salt spray into unprotected phones in seconds.
Future you’ll thank you.
Boat Rules: Waves, Wind, and Wet Hands Protection
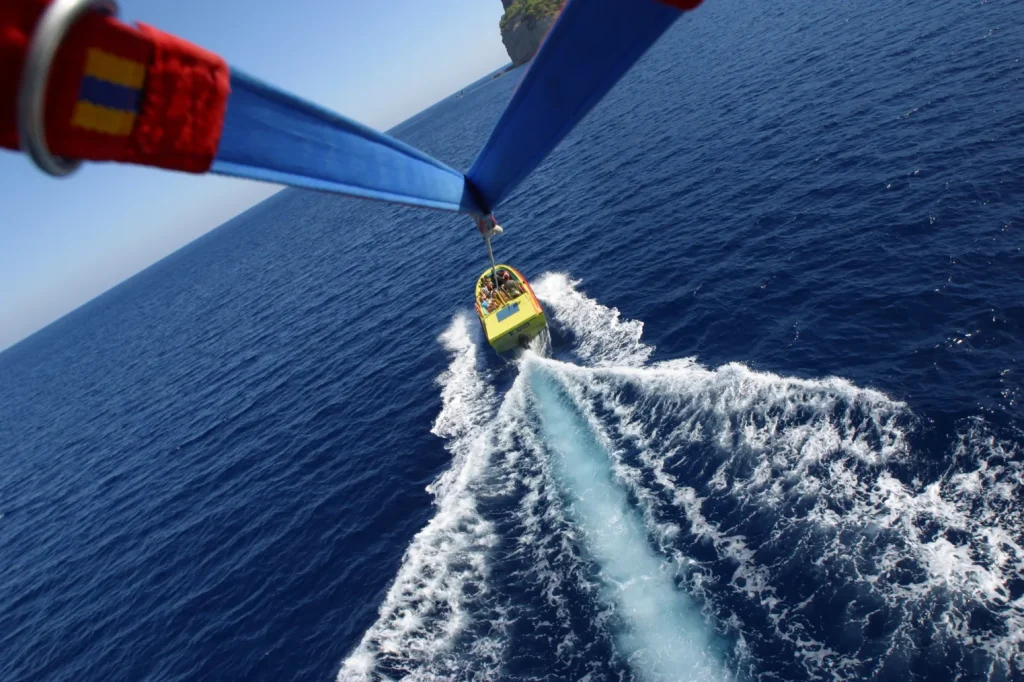
Even if the ocean looks calm at the dock, boat time in Hawaii can turn your phone into a salt-sprayed mess the moment the captain hits open water. Practice Wave etiquette: pocket it for takeoff, and pull it out only when the boat settles. Sit midship, keep your elbows tucked so a jolt won’t launch it. On busy parasailing boats in Waikiki, expect some spray and music-filled boat vibes, and stash your phone whenever the crew warns about bumps or turns.
- Wear Windproof gloves with grippy palms, often $5 to rent on dive boats.
- Carry a small microfiber cloth, blot spray before it dries gritty.
- Ask crew about the wet side, then keep your phone below the rail.
On crowded morning snorkel runs, keep it pocketed while you gear up. For easy timing, pick a Viator tour with verified reviews, hotel pickup, free cancellation, and reserve pay later today.
Safer Ocean Photos: Floats, Lanyards, Dry Bags
On the water, give your phone a backup plan before you chase that turtle shot. Clip it to a short lanyard or one of those floating straps, so a slippery hand doesn’t turn into a reef offering. For snorkeling, stash your phone in a clear dry bag, squeeze out air, and roll the seal tight before you wade in. You’ll still get waterproof selfies, plus touch control that’s good enough for quick snaps. The same setup doubles as essential gear for keeping your phone safe while parasailing in Waikiki.
| Bring | Why it helps |
|---|---|
| Float strap | Keeps it bobbing near you |
| Dry bag | Adds splash and sand protection |
Buy gear at ABC Stores or surf shops for $15 to $30, and set it up on shore, not mid swell, early morning.
Avoid These “Waterproof” Mistakes in Hawaii
Start with a reality check: “waterproof” in Hawaii usually means “fine until it isn’t,” especially when salt, sand, and heat pile on. IP ratings assume fresh water, calm labs, and perfect seals, not a windy Lanikai afternoon or a catamaran at 11 a.m. Treat carrier promos as false advertising, and reset your user expectations before you wade in. Just like Hawaii’s health officials use Brown Water Advisories to warn swimmers when conditions quietly shift from safe to risky, you should treat your phone’s waterproof specs as a caution flag, not a guarantee.
- Skip pocket dunks for “quick rinses”, one wave can force grit into ports.
- Don’t trust old gaskets, replace cracked cases, and check SIM trays.
- Avoid leaving your phone on hot sand, use shade, a towel, or a $15 dry pouch.
If you’re booking a snorkel day, pick Viator tours with verified reviews, hotel pickup, free cancellation, and reserve now pay later, then keep your phone stowed.
If Your Phone Hits Saltwater: Do This Immediately
Saltwater doesn’t “dry off” your phone, it keeps working on it until you interrupt the damage. Step out of the surf, shake off grit, and power it down right away. Pop off the case, SIM, and any card, then blot the outside with a clean tee or beach towel. Skip rice, it’s a gritty myth. Just like reading a parasailing waiver before you head out on the water, understanding what saltwater does to your phone helps you act fast and limit long-term damage.
| Do now | Why it helps |
|---|---|
| Turn it off | Stops short circuits |
| Remove case and SIM | Lets moisture escape |
| Seal with desiccant | Buys you hours |
Head to a repair shop within 1 to 3 hours, expect $80 to $200. If you notice battery swelling, don’t charge it. For data recovery, ask about same day backups before anything else. Grab a zip bag and silica packets from an ABC Store, quick.
Stop Corrosion: Clean Ports and Restore Audio
Once your phone is powered down and out of the splash zone, you’ve got a short window to flush out the ocean’s minerals before they turn into crunchy green corrosion inside your ports and speakers. If you’re heading out on boats or Hawaii parasailing excursions where spray is constant, secure your phone in a waterproof pouch and away from railings to avoid repeated saltwater exposure.
Rinse the exterior with distilled water, then dab ports with 90% isopropyl on a soft brush. Don’t blow hard air, it’ll drive salt deeper.
- Pack a toothpick, microfiber cloth, and a zip bag for beach days.
- Skip the rice myth, it traps grit.
- If audio stays muffled after two hours of drying, book a Waikiki repair counter before dinner, expect 30-minute turnaround and $40–$80.
Ask for electrochemical protection coating, and if corrosion already started, request ultrasonic cleaning.
You’ll hear your playlists again by sunset, and your charger will click.
Frequently Asked Questions
Does Saltwater Damage Void My Phone’s Warranty or Applecare Coverage?
Yes, saltwater damage usually voids your standard warranty due to warranty exclusions for liquid damage. AppleCare+ may still help, but you’ll pay service fees; otherwise you’re stuck covering full repair costs yourself at Apple’s discretion.
Can I Bring My Waterproof Phone Case Through TSA in Carry-On Luggage?
Yes, you can bring a waterproof phone case in your carry-on through TSA. Keep it empty or dry to avoid liquid limits, and place it in a bin for security screening if requested there today.
How Can I Protect My Phone From Overheating on Hawaii Beaches?
Treat heat like a thief: you’ll outsmart it by using shade placement, keeping your phone off hot sand, dimming brightness, and closing apps. You’ll slow battery cycling by avoiding fast charging and letting it cool.
Will Saltwater Exposure Affect My Phone’s Wireless Charging or Magsafe Magnets?
Yes, saltwater can cause charging interference and raise corrosion risk in your wireless charging coil and MagSafe ring. Rinse with fresh water, dry thoroughly, and avoid charging until fully dry to protect magnets and contacts.
What’s the Best Way to Insure My Phone Against Ocean Loss in Hawaii?
Buy AppleCare+ with Theft and Loss or a carrier plan before you swim; you’ll get ocean-loss coverage. Also check rental insurance riders. Photograph your phone and receipts now to meet proof requirements if you file.
Conclusion
Think the trick is tossing a soaked phone in rice overnight? Test it once and you’ll see salt still crusts ports by morning. You’re better off packing a $20 IP68 case, port plugs, and a microfiber cloth, then keeping your phone 20 feet from the surf on windy afternoons. For ocean days, use a float strap or dry bag. Skip “waterproof” pockets. If you book a Viator snorkel tour, choose reviews, hotel pickup, free cancellation.