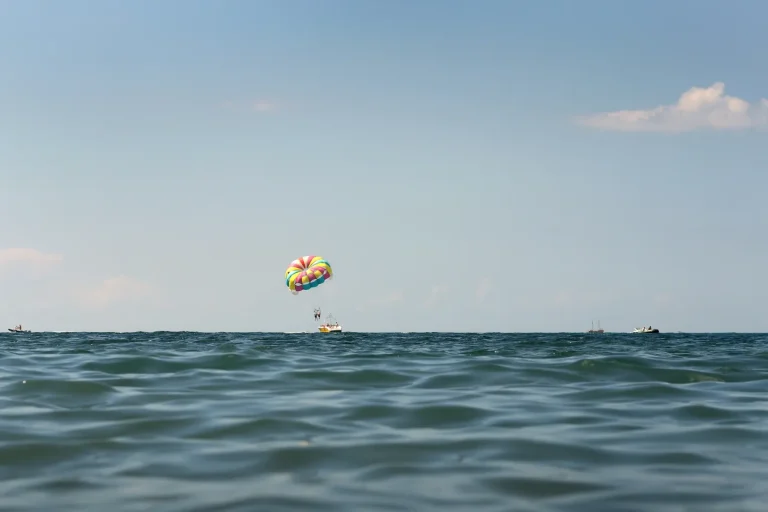
Roughly 70 percent of parasailing clips you see online look shaky, tilted, or blown out from harsh midday glare. You can fix that with two quick GoPro presets, the right lens, and a couple of smart locks before you even clip in. Bring a floaty case, one spare battery, and a thin ND filter, skip the selfie stick unless your operator allows it. If you’re juggling timing, a Viator tour with verified reviews, hotel pickup, free cancellation, and reserve now pay later can help, but your real win comes from one setting most people miss…
Key Takeaways
- Shoot 5.3K/30 for scenic wide shots, 4K/60 for action detail, or 4K/120 for dramatic slow motion.
- Enable HyperSmooth High with horizon lock for steady, level footage despite rope sway and boat turns.
- Lock white balance (≈5500K midday, 6000K golden hour, 5000K cloudy) to prevent flicker from spray and shifting light.
- Protect highlights: ISO 100–400 (cap 800), EV -0.5, and lock exposure on a midtone below the horizon before takeoff.
- In bright sun, use ND8–ND32 to control shutter speed (about 2× frame rate) and keep water and clouds from blowing out.

Waikiki Parasailing in Hawaii from Oahu
Experience the thrill of parasailing over Hawaii’s stunning coastline as you glide above crystal-clear waters and lush island landscapes. You’ll s...

Parasailing Experience in Waikiki, HI
Experience the thrill of Oahu parasailing on this unforgettable 1-hour adventure from Waikiki. Soar up to 1,000 feet...

Oahu: The Magical Mystery Show! at Hilton Waikiki Beach Hotel
Step back in Hawaii's history to 1881 when King Kalakaua visited London. You've found the hidden gem of Oahu. This i...

Oahu Grand Circle Island Experience from Waikiki
Enjoy Grand Circle Island experience tour with breathtaking views of Amelia Earhart Lookout on Diamond Head, admire...
Parasailing GoPro Presets (Copy These)
If you want clean, cinematic parasailing footage without fiddling with menus on a rocking boat, start with a few presets you can copy before you even leave your hotel.
Save three: “Bright Midday” with stabilization on, auto white balance, low sharpness, high bitrate; “Haze Cutter” with a touch of contrast and ISO range; “Golden Hour” with warm color and lower exposure compensation. For extra peace of mind over the water, pair these settings with one of the best waterproof phone cases for parasailing in Waikiki so your backup shots stay dry.
Load them the night before, then you’re filming in seconds while dock crowds jostle.
Bring a floaty handle, cloth, and a spare battery, tours run $70 to $140.
Skip the bulky gimbal unless you’ve checked gimbal compatibility.
If you book on Viator, choose verified reviews, hotel pickup, free cancellation, and reserve now pay later, it keeps your editing workflow tidy afterward too.
Choose GoPro Resolution and FPS for Parasailing
Lock in your resolution and frame rate before you step onto the dock, because parasailing gives you about two calm minutes to set up, then it’s wind, spray, and a harness tugging at your wrists. Pick 5.3K/30 for postcard-wide seascapes, or 4K/60 when you want crisp rope snaps and wake detail at a high bitrate. Set manual focus to infinity so the boat below doesn’t steal focus. For the best results, pair your settings with secure GoPro mounts for parasailing so your angles stay steady and safe in the air.
| Goal | Resolution | FPS |
|---|---|---|
| Scenic glide | 5.3K | 30 |
| Action pops | 4K | 60 |
| Slow motion | 4K | 120 |
| Lightweight files | 2.7K | 60 |
Bring a dry bag and a floaty grip, skip long menus once you’re clipped in. If your operator charges $10 for a photo package, shoot your own, but keep clips short to avoid card swaps in the line.
Turn On HyperSmooth for Parasailing Video
Usually, HyperSmooth is the setting that turns your parasailing footage from jittery wrist-cam to a clean, floating glide, especially when the tow rope starts humming and the wind nudges you side to side. Set it to High for most rides, then do a quick stabilization comparison on the boat: pan at the horizon for five seconds, watch playback, and adjust before takeoff. If you’re editing later on your phone, smooth parasailing edits are easier when your original GoPro footage is already stabilized with HyperSmooth. You’ll lose a bit of crop, but the ocean looks calmer and your friends won’t get seasick watching.
Keep an eye on battery impact. In warm sun you’ll be fine, but budget 10 to 15 percent less runtime, so start with a fresh battery and a dry bag. Skip extra beeps and screens to save power. Aim for early tours, fewer boats.

Polynesian Cultural Center: Gateway Buffet Package
Located on O‘ahu’s North Shore, the Polynesian Cultural Center is a one-of-a-kind attraction showcasing the peop...

Oahu: Kualoa Ranch UTV Raptor Tour
Traveling with family and friends? You can enjoy the fantastic Multi-passenger UTV Raptor experience with your entir...

Waikiki 2-Hour Sunset Sailing Catamaran – Swim & Sail Adventure
There’s no better place to take a dip than the crystal-clear waters of Waikiki—and no better way to experience a...
Pick the Best GoPro Lens for Parasailing
HyperSmooth will steady the sway, but your lens choice decides whether the whole scene feels big and airy or tight and wobbly. Start with Wide or SuperView for most parasails, you’ll capture the boat, shoreline, and your toes in one sweep, even when the line spins a little. Position yourself where you can experiment with perfect angles from the boat, like shooting forward toward the chute or back at the wake for more dynamic parasailing photos.
Switch to Linear when you want cleaner horizons and less curve in a wide angle comparison, especially for city beaches. If you’re flying near sunset, prioritize low light performance: avoid SuperView, bump to Wide, and keep ISO modest so the water stays silky, not grainy. Skip zooming, it just crops.
Bring a spare battery, wind drains power fast. For schedules, Viator parasailing tours with verified reviews and hotel pickup help, and free cancellation keeps you flexible.
Mount Your GoPro Safely for Parasailing
Before you clip in and the crew eases you off the deck, decide exactly where the GoPro will live so it won’t turn into a salty projectile.
A chest mount keeps hands free and frames the water below, while a helmet mount catches more sky and your grin. Skip long selfie sticks, they wobble and can smack you on takeoff.
Do quick safety harnessing: tighten straps, then do a tether inspection on every connection. Incorporate secure gear and smart practices so your camera setup never interferes with your harness or flight lines.
Use a short stainless lanyard or GoPro tether, about $5 to $15, and clip it to your harness, not the parachute lines.
Add a floaty backdoor if you’re launching from the beach.
Start recording on deck, then double check the latch once you’re airborne.
Crowded docks tempt shortcuts, don’t ever.

Lock Exposure So Sky and Water Don’t Blow Out
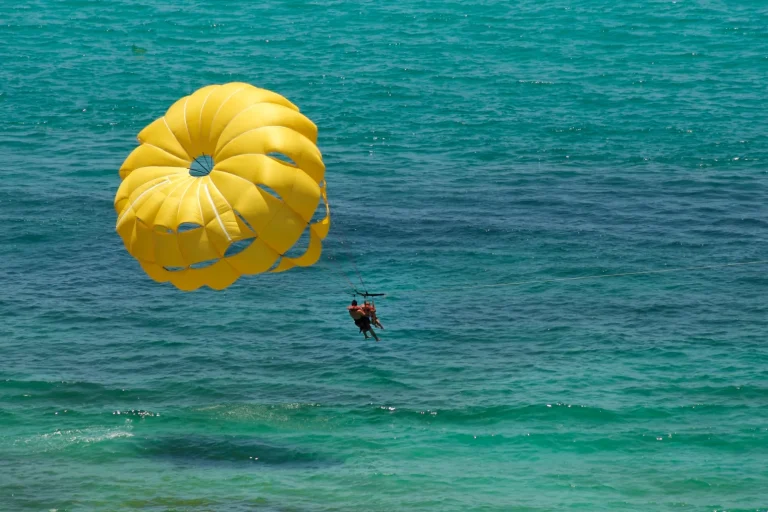
Once your GoPro is strapped down and tethered to your harness, the next fight is light, that blinding mix of white sky and glittering water that can turn your shot into a washed-out postcard. Before takeoff, point the lens where you want the exposure to land, usually just below the horizon. Tap and hold to lock meter on that midtone, then confirm the exposure lock icon so it won’t chase every cloud. Do this while the boat idles, not when you’re already spinning and waving. If your operator launches in 10 minute batches, you’ve got time. Bring a microfiber cloth, skip greasy sunscreen on your fingers. On busy beaches, a Viator parasail with hotel pickup and free cancellation helps you hit calmer morning light. To really capture those epic Waikiki parasailing moments, combine a locked exposure with steady framing and let the GoPro roll while you’re in the air.
Set Shutter Speed and ISO Limits for Parasailing
Once you’ve locked exposure, set your shutter speed with purpose so spray, rope sway, and that gentle spin stay crisp in the bright sea air. Aim for about 1/240 to 1/480 in midday sun, then cap ISO at 100 to 400 to keep the water and sky clean instead of grainy, and skip “Auto everything” unless clouds roll in fast. If you’re booking a Viator parasailing slot, use reserve now pay later and free cancellation to chase the best light, then bring a microfiber cloth for salty droplets and leave the bulky filter kit at the hotel. If you’re tempted to bring your phone along, remember that parasailing and your phone involves real risk from spray, drops, and weak mounts compared to a securely strapped GoPro.
Shutter Speed Targets
Lock in a fast shutter speed and you’ll freeze that salty, wind-whipped swing under the canopy instead of bringing home a blur. Aim for 1/1000 to 1/2000 in bright noon sun, and don’t dip below 1/500 when the light softens. Those targets keep rolling shutter from bending the horizon when you pan, and they stomp out motion blur on the tow line and spray. That extra speed also preserves the crisp, suspended feeling you get during that first weightless float above the water.
| Shutter target | What it feels like |
|---|---|
| 1/2000 | Razor waves, heart racing |
| 1/500 | Still sharp, a calmer glide |
Film takeoff and the first minute, when everyone’s cheering. Book the 9 a.m. slot to dodge boat crowds. A spare battery is $20 at most docks today. Bring a wrist tether and a dry cloth. Skip slow “cinematic” shutters, unless you love guessing.
ISO Limit Guidelines
When the sun ducks behind a cloud and the tow boat swings you into shade, your GoPro will try to crank ISO to keep the shot bright, and that’s when the ocean turns into speckled confetti. Cap ISO at 800 for sunny midday runs, or 1600 if your launch hits late afternoon and you’d rather keep faces usable than perfectly clean. Set your shutter target first, then treat ISO as your exposure floor, not your hero. Too high and you blow your dynamic ceiling, losing sky detail and turning spray into grit. Bring a dry bag and a microfiber cloth, skip the selfie stick unless it floats. Expect 60 to 90 minutes total and $70 to $120. Go early to dodge lines and chop. To make the most of these settings, plan some simple parasailing video ideas in advance so you’re ready to capture smooth, creative clips for Reels and TikTok while you’re in the air.

Waikiki: 2 hours - Friday Night Fireworks Catamaran Cruise
Enjoy the spectacular FRIDAY NIGHT FIREWORKS show along the beautiful coastline of Waikiki while we get up close and...

Toa Luau at Waimea Valley, Oahu
Toa Luau invites you to immerse yourself in the beauty and excitement of Polynesia on Oahu’s historic North Shore!...
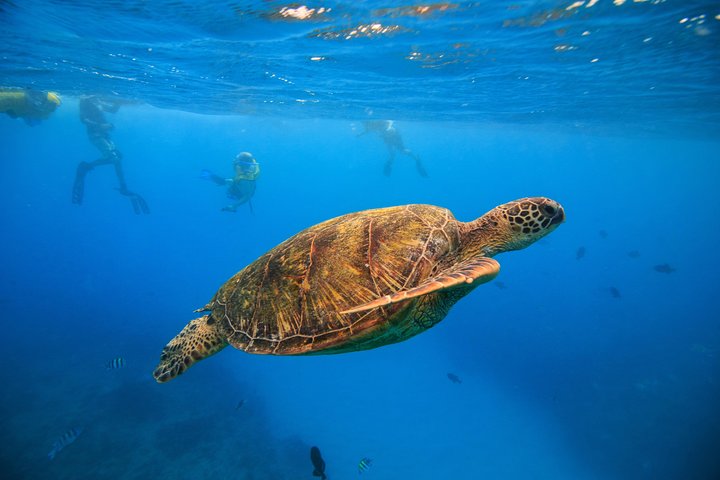
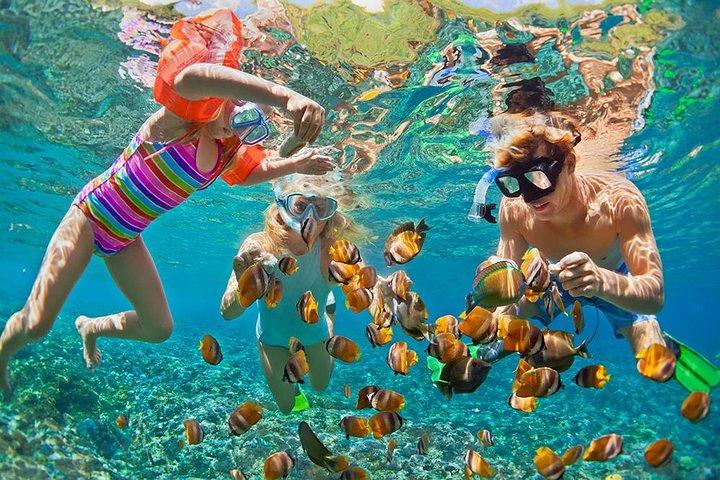
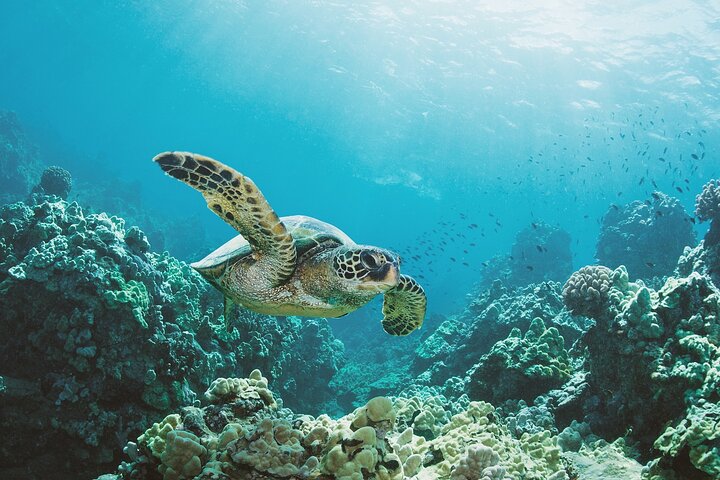
Waikiki, Hawaii: Turtle Canyon Snorkel Excursion
Discover the magic of snorkeling with Hawaiian Green Sea Turtles at Waikiki’s famous Turtle Canyon. On this 2-hour...
Dial In GoPro Color and White Balance
Although parasailing looks all sun and sparkle from the boat, your GoPro can turn that same scene into a washed-out glare or a weird blue tint if you leave color and white balance on autopilot. Switch to GoPro Color for sea greens, or Flat if you’ll edit later. Set white balance to 5500K at midday, then bump to 6000K near golden hour. These white balance hacks save skin tones when spray hits. If you’re flying over the ocean in Hawaii, protect your phone and camera gear from saltwater damage by keeping them in a waterproof pouch and away from direct spray while you’re on the boat. If clouds roll in, drop to 5000K and keep it locked. Bring a microfiber cloth, rinse your housing after the ride, salt haze is real. Skip Auto WB unless you like flicker. Rides run $60, and mornings usually feel quieter. Back at the hotel, use color grading tips: lift shadows, tame highlights.
Use ND Filters for Bright Parasailing Days
On bright parasailing days when the sea throws hard glare and the sky looks washed out, you’ll want an ND filter, and picking the right strength is like packing sunscreen: ND8 for mild sun, ND16 to ND32 for noon heat. Since you’re already managing your camera, it helps if your parasailing gear, especially the harness and towline, is properly fitted and comfortable so you can focus on filming instead of fumbling with equipment. Clip it on so you can slow your shutter without overexposing, which keeps motion looking smooth instead of crispy and jittery. You’ll also protect highlights in whitecaps and clouds, so skip “auto everything,” bring a small filter case and a microfiber cloth, and if your Viator tour runs at midday, lock this in before the boat leaves the dock.
Choose ND Filter Strength
Dial back the glare and you’ll instantly get cleaner parasailing footage, because bright noon sun turns the sea into a sheet of white sparkle and forces your GoPro into harsher shutter speeds. Start your filter selection with ND8 for hazy mornings, ND16 for late morning, and ND32 when the sky is hard blue from 11 a.m. to 2 p.m. If clouds roll in, drop strength fast or you’ll crush shadows on your harness and boat. Think of ND as sunglasses for your lens, for exposure balancing. Pack an ND set, $20 to $80, plus a microfiber cloth. Skip bargain filters with soft coatings, they flare over the water. Marina shops mark them up, so buy before you fly and keep one at the dock. When you’re shooting over Waikiki’s busy shoreline, pair your ND choice with a quick parasailing safety checklist review so you’re not fumbling with filters while the boat crew is focused on safe takeoff and landing.
Reduce Shutter Speed
Once you’ve picked the right ND strength, use it to slow your shutter so the sea stops looking like a glitter bomb and your video feels smooth instead of twitchy. In bright midday rides, aim for a shutter around double your frame rate, then let the ND do the heavy lifting. You’ll get natural motion blur in the waves and a more cinematic swing under the canopy. For the best angles and comfort while filming, try to grab top spots on the parasailing boat that give you a clear view of both the canopy and the horizon.
- Shoot 60fps with 1/120 for crisp action, or 30fps with 1/60 for a gentler long exposure feel.
- Lock your shutter before takeoff, it’s hard to tap tiny menus with a harness on.
- Pack a cheap microfiber cloth and skip changing filters mid flight, salt spray and crowds on the dock slow you down.
Set it dockside prelaunch.
Prevent Highlight Clipping
Although the sky looks washed-out from the dock, your GoPro can still blow out bright clouds and sun-struck wave tops the moment you lift off, so treat highlight clipping like your first safety check. Before you clip in, double-check your essential gear for parasailing so you’re not fumbling with accessories once you’re in the air. On bluebird days, snap on an ND8 or ND16 before boarding, about $20 to $40 for a small kit. It lets you keep your shutter slower without nuking whites, boosting highlight preservation and usable dynamic range. Set ISO min 100, max 200, and dial EV comp to -0.5 if the clouds start glowing.
Wipe salt spray with a microfiber cloth, and skip greasy sunscreen fingers on the lens. Midday departures are harsh, so grab an early slot. Viator can help with timing, reviews, pickup, free cancellation, and reserve pay later.
Use the Best GoPro Photo Settings for Parasailing
Because parasailing moves fast and the light shifts every few seconds, you’ll get stronger shots if you set your GoPro for crisp, frames before the boat idles out of the marina. Switch to Photo, set Wide, and pick 12MP or 27MP if you’ve got room on your card. Use Auto shutter, ISO Min 100 and Max 400, and keep EV Comp at -0.5 to protect clouds and water sparkle. For especially flattering light and warm tones on the ocean and skyline, try to schedule your ride during the golden hour in Waikiki, when the sun is low and colors are richer.
- Turn on RAW to rescue highlights later, but pack an 64GB card.
- Lock your aerial composition by aiming slightly down, then refine horizon placement with the level line.
- Shoot in Burst 10/1 when the canopy steadies, it costs you zero time.
Arrive 20 minutes early, skip filters, and tether the camera with a $5 leash.

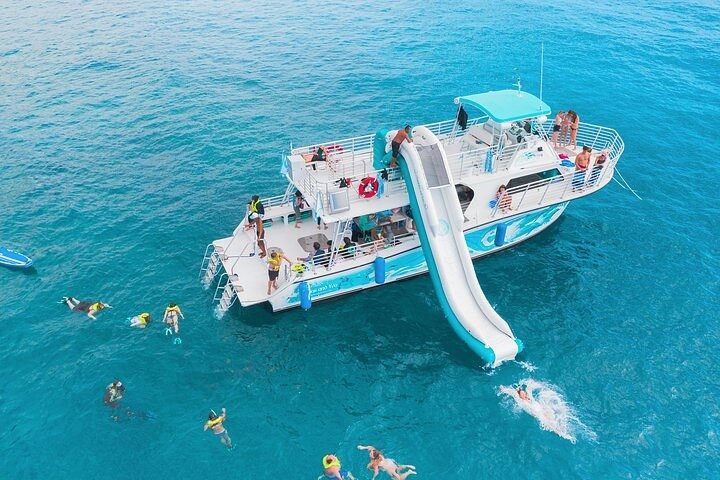
Oahu Catamaran Snorkel Tour: See Turtles 100% Guaranteed
Experience one Viator's 2025 Top 20 Best Excursions in the country. This Oahu Catamaran snorkel tour offers unbeatab...

Hanauma Bay Snorkeling from Waikiki
Experience Hanauma Bay the easiest way with Waikiki’s most reliable Hanauma Bay shuttle. Our early 5:40 AM pickup...
Oahu Dolphin and Snorkel Tour with Waikiki Pickup & Lunch
Join one of Oahu’s most popular ocean adventures and experience why over 300,000 guests have fallen in love with t...
Use These GoPro Settings for Sunset Parasailing
While the sun drops and the water turns copper, your GoPro needs a quick pivot from “bright daylight” to “save the glow.”
Switch to Photo or Night Photo about 10 minutes before launch, when the crew’s still doing harness checks and the line isn’t pulling yet.
Set ISO 100–400 and shutter 1/250, then drop EV to -0.5 to protect the sky.
Use Wide, and tap to spot-meter your face after the safety briefing.
For golden hour warmth, shoot RAW and fix white balance at 5500K.
If you want silhouette shots, shift your hips so the towline angle keeps the sun outside frame.
Bring a dry bag and spare battery, and skip ND filters and big mounts.
Sunset slots sell out on weekends, expect $80–$150.
Pair these settings with quick-dry layers that won’t drag or stay soggy so you’re comfortable while you’re focused on filming.
Get Usable Boat Audio for Parasailing Clips
Before you clip in, set Wind Noise Reduction to Auto or High and do a quick 10-second test on the dock, since the boat’s engine and chatter get loud fast. Mount the camera behind the windshield or in a sheltered corner, and add a small foam windscreen or a cheap $10–$20 deadcat if you don’t want your soundtrack to turn into a sandblaster. If you’re booking a parasailing slot through Viator, pick a tour with verified reviews, hotel pickup, free cancellation, and reserve now pay later so you can time it for a calmer patch of water and skip the noisiest, most crowded mid-afternoon runs. If you’re heading out over Waikiki, many operators run big boat parasailing setups that keep things smoother and a bit quieter on deck, which can help your GoPro pick up more usable boat audio.
Wind Noise Reduction Setup
If you want your parasailing clips to sound like a breezy boat day instead of a hair dryer, you’ll need to set up for wind the moment you step onto the dock. On your GoPro, enable Wind Reduction for wind muffling, choose Stereo, and set input to Low if the engine’s loud. Shoot high bitrate so the audio stays clean, then later apply light frequency dampening in your editor. Pack a zip dry bag and one extra battery, spray and sun burn through power. Viator can help you lock timing with verified reviews, hotel pickup, free cancellation, and reserve now pay later. When you’re booking and filming, remember that US Coast Guard rules and Hawaii parasailing regulations shape when operators can safely run trips and how close you’ll be to shore and boat traffic.
- Record a 10-second test before takeoff.
- Keep Protune Audio on, use RAW if you’ll edit.
- Skip onboard music, it competes with voices.
Mic Placement And Shielding
Once you’re on the boat and the motor kicks up, mic placement matters more than any menu setting on your GoPro. If you’re using the internal mic, keep the camera low behind your chest or life jacket so your body blocks wind. Avoid mounting it on a pole above your head unless you want roar. To complement good audio, decide whether a paid photo package or DIY parasailing photos best fits your trip so your video and stills work together. For narration, plug in a lav mic with the Media Mod, tuck it under your collar, add a foam cover. Fine-tune microphone placement near fabric, not exposed to wind. A windproof housing or stick-on deadcat costs $10 to $25 and saves the take. Test for 15 seconds before launch. Skip chatting during docking when crowds and engines peak. Bring zip ties and a dry bag, rinse salt afterward today.
Fix Shaky, Blown-Out, or Tilted Parasailing Footage
Although parasailing feels calm up in the breeze, your GoPro can come back with jittery clips, a bright white sky, or a horizon that looks like it’s sliding off the frame. Before you book again, fix it in-camera and in-edit. Turn on HyperSmooth and lock your horizon, then let stabilization algorithms do the heavy lifting. If the sky still blows out, drop EV to -0.5 and set ISO max 400, especially on noon rides. In post, avoid overusing frame interpolation settings, they can smear spray and ropes. On Waikiki rides, expect some salt boat spray while you’re waiting on the deck, so wipe your lens right before liftoff for a clear first shot.
- Use a chest mount and tighten straps, $30 saves ruined takes.
- Film 5 minutes early, boats idle, crowds thin.
- Bring a microfiber cloth, skip fancy filters.
On Viator, choose verified reviews, reserve now pay later, free cancellation.
Frequently Asked Questions
What Permissions or Rules Apply to Filming While Parasailing at Resorts?
You’ll usually need resort permits or operator approval before filming, and you must follow privacy laws, don’t record guests without consent. Check local aviation/marine rules, obey staff instructions, and avoid restricted areas or commercial use too.
How Do I Prevent Losing My Gopro if the Mount Fails?
Use a safety tether as backup: clip it to your harness and the camera frame. Add a floaty case so it won’t sink if it drops. Double-check screws, use threadlocker, and test tug before launch.
Should I Bring Spare Batteries or Use an External Power Setup?
Bring spare batteries, you’ll be in the same boat if power dies. Rely on battery management: rotate warm spares, shut off Wi‑Fi. Use external chargers on the ride, but avoid dangling power banks inside a drybag.
Oahu Circle Island Snorkeling Tour: Dole, Pali Lookout & More
Looking for the BEST VALUE & MOST COMPLETE Circle Island Snorkeling Tour? Join us for the ultimate full-day, action-...

Pearl Harbor USS Arizona Memorial Tour from Waikiki
Turn back time as we explore WWII history at Pearl Harbor and relive the infamous Sunday morning of December 7, 1941...

Waikiki Turtle Canyon Snorkel: Turtles Guaranteed
Book our Turtle Canyon snorkel tour for some turtle fun today! Join us for an intimate experience that you will not...
How Do I Safely Rinse and Dry My Gopro After Saltwater Exposure?
You’ll rinse your GoPro with water ASAP using a rinse kit, gently flushing ports and buttons. Then shake it, pat with microfiber, and use quick dry techniques: airflow, silica packs, and shade, don’t heat it directly.
What’s the Best Way to Back up Footage Immediately After the Ride?
Like you’re sending a telegram, you’ll pop out the microSD, copy files to your phone or laptop, then trigger an instant upload to Wi‑Fi. You’ll verify clips, keep a drive copy, and enable cloud archival.
Conclusion
You’re set for sky-high sailing with your GoPro dialed in. Shoot 4K/60 for punchy pulls, or 5.3K/30 for sweeping sea-scapes, lock the horizon, and keep ISO capped so whites don’t blow. Bring an ND filter, spare battery, and a waterproof pouch, skip bulky grips. Arrive 30 minutes early, rides run about $60 to $120, crowds peak midday. If timing’s tight, Viator tours help with hotel pickup, verified reviews, free cancellation, and reserve now pay later.
Parasailing Experience in Waikiki, HI
Experience the thrill of Oahu parasailing on this unforgettable 1-hour adventure from Waikiki. Soar up to 1,000 feet above the stunning south shore of...

Oahu: Atlantis Submarine Adventure in Waikiki
Explore Waikiki’s marine mysteries while diving more than 100 feet underwater in an air-conditioned, eco-friendly...

Oahu: 60 Min Royal Crown Helicopter Tour - Doors Off or On
See every stunning sight on Oahu from the white sands of Waikiki to the epic big waves of Norh Shore on our incredib...
Waikiki: Turtle Canyon Snorkel Adventure on Oahu
Enjoy an exclusive snorkeling adventure in Waikiki with small group sizes for a comfortable and VIP experience. You...